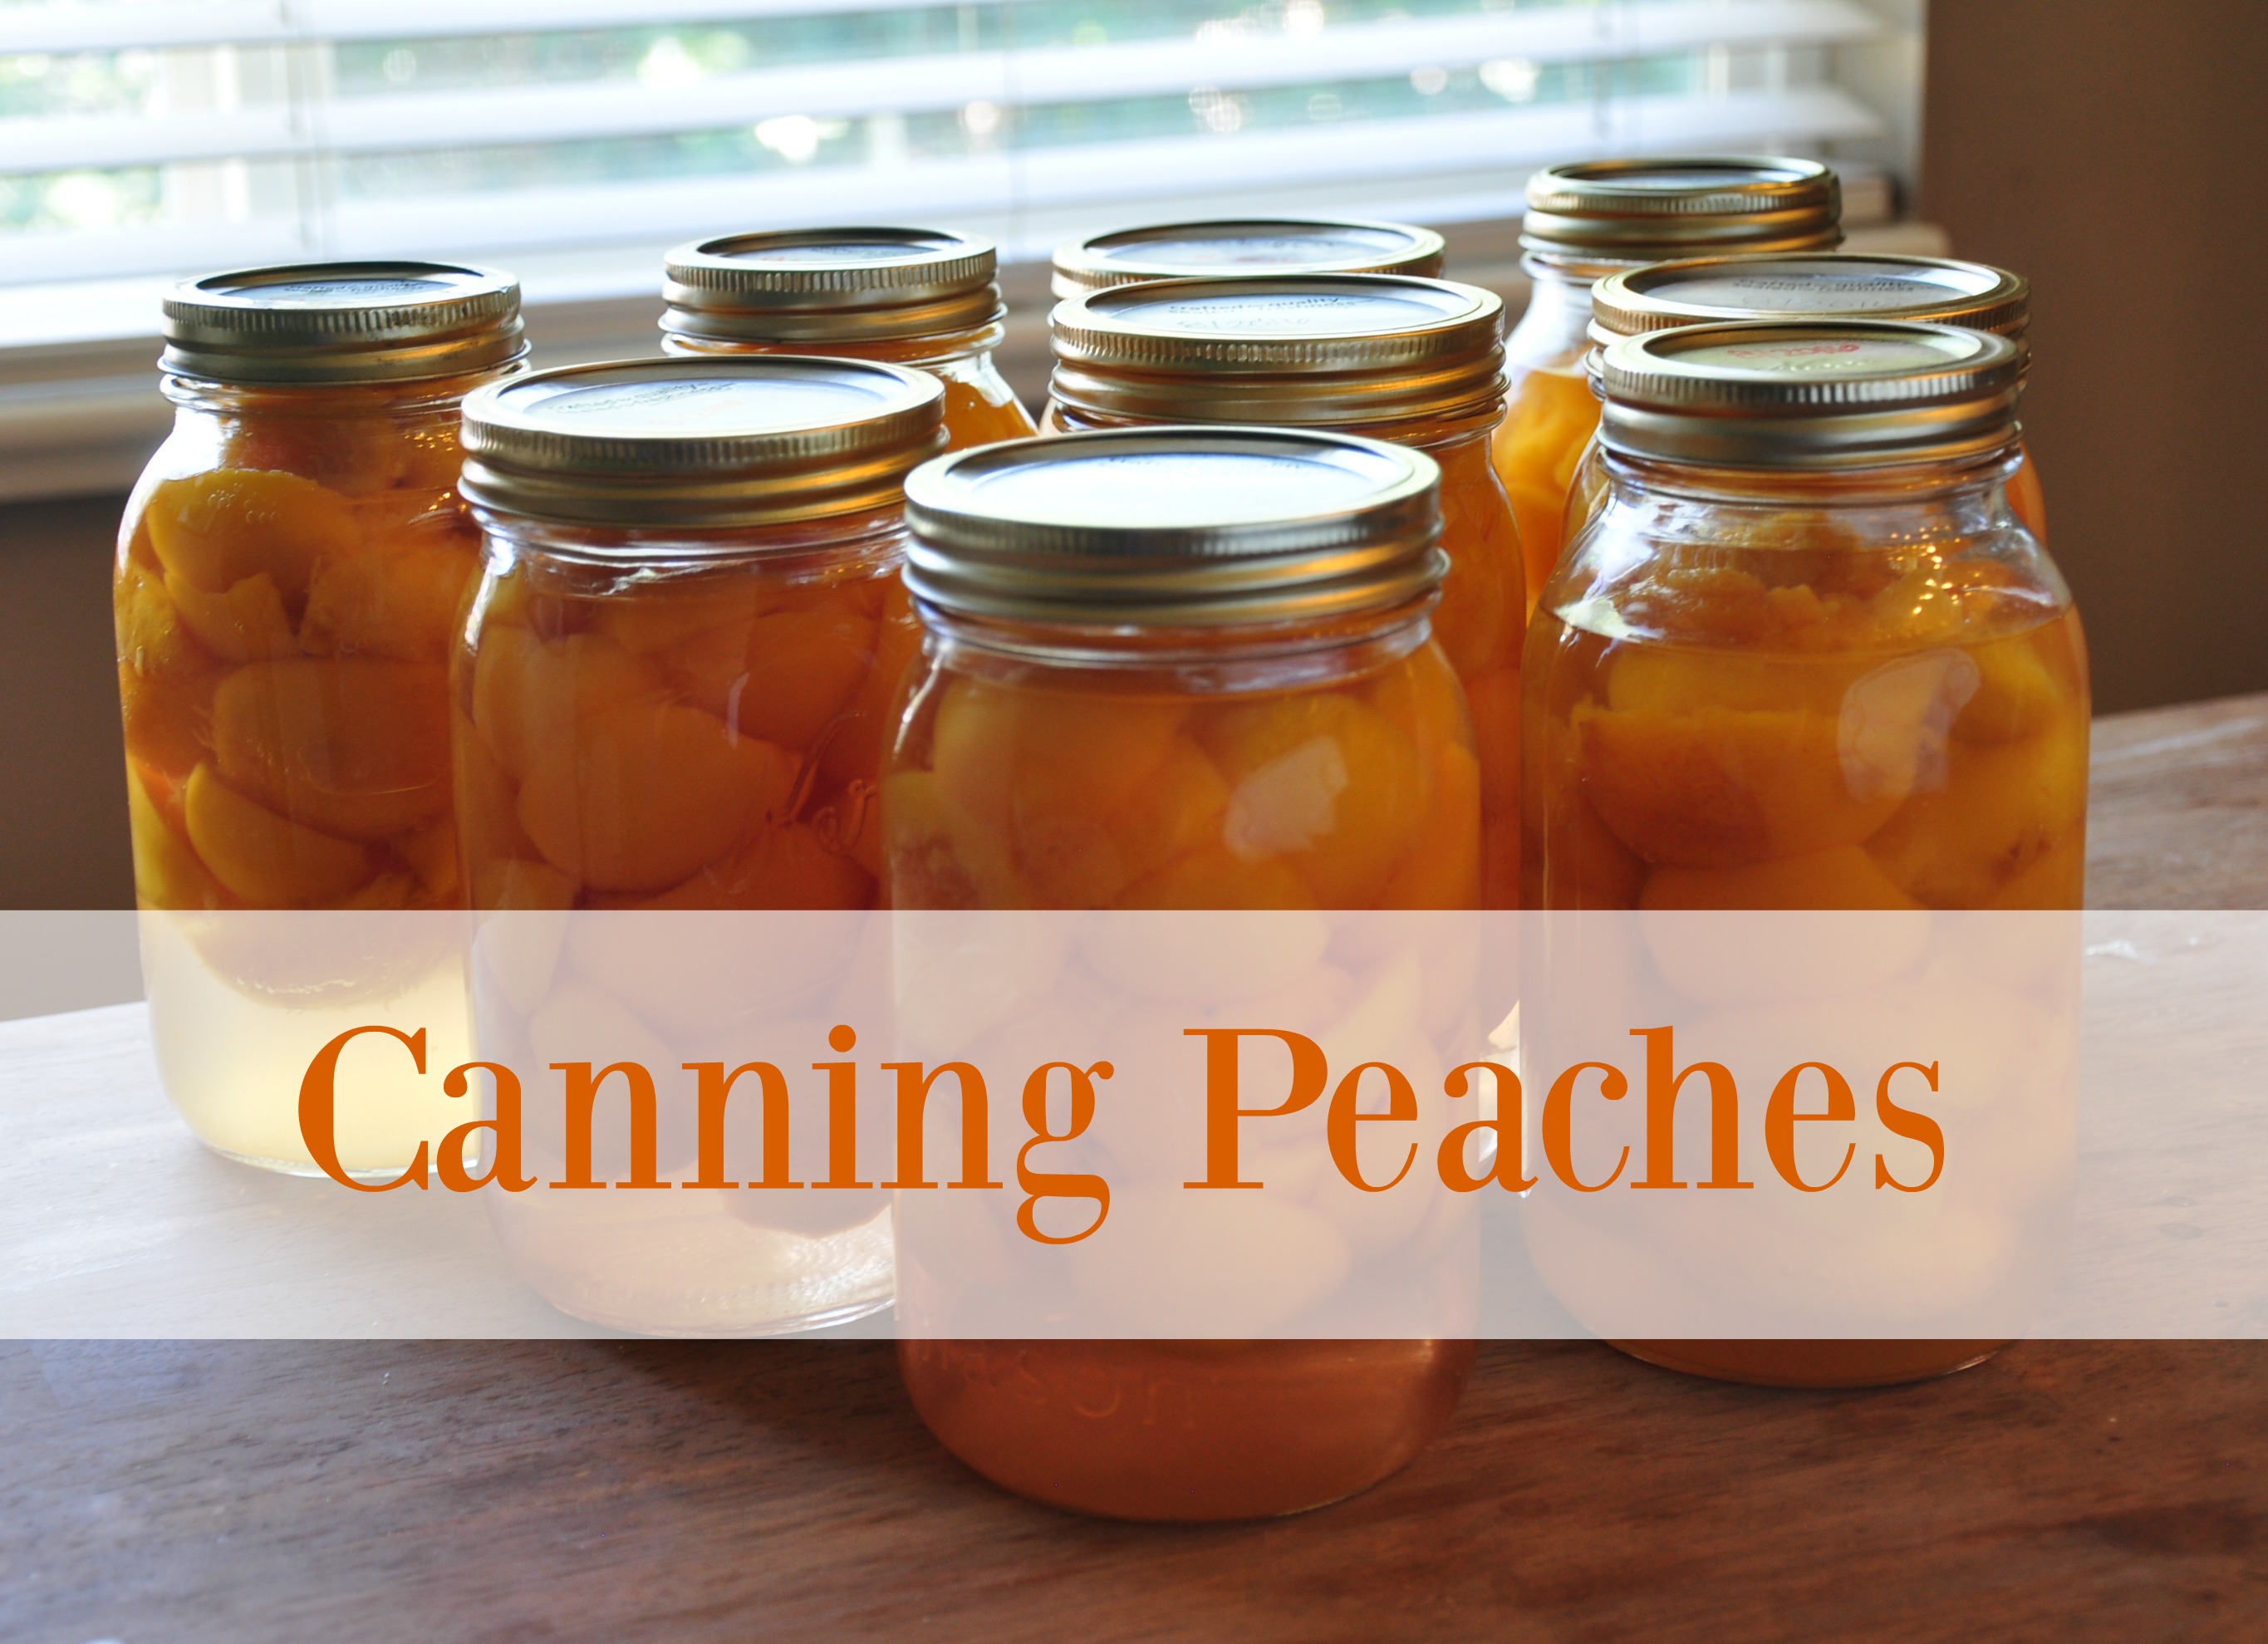
Can you believe we’re headed into fall? This time of year is the perfect time for canning all your produce from the garden and off the trees. And right now the peaches are ripening and ready to store. Have you though of canning? It’s a great way to save money by becoming more self sufficient and it’s super easy. You can easily can applesauce, peaches, pears, salsa, jam and so much more.
If you’d like to learn more about canning I HIGHLY recommend this book called, “Putting Food By” and right now it’s marked down on Amazon to just $11.71! It has everything you need to know about canning from meats to fruit and veggies. But here’s some basic steps to get you started if you’d like to can some peaches.
Supplies you need:
- peach
- sterilized quart size jars (you can use the pint size jars if your family is smaller)
- clean rings and NEW lids (lids cannot be reused)
- sugar
- Waterbath canner
- jar grabber
Directions:
- Start by cleaning your jars and rings. Then place them in your oven to keep warm so the lowest setting your oven can do is great (Mine is around 170 degrees) (This will help keep them from break when you put them in the water bath.)
- Grab your waterbath canner and fill it with water. Than place it on the stove so it can start warming up. You want it boiling before you put your jars in.
- Fill another large pot of water and bring to a boil as well. Once boiling add the peaches for 2-3 minutes (I use a cheese cloth to do this, it’s easier to pull them back out but you could simply get them out with a spoon as well.). You might need to do several batches but this process helps to remove the skin.
- Remove the peaches and place them in COLD water. We add ice to our cold water to help the skin pill off easier. Remove the pit and slice into large pieces. (If they’re smaller peaches keeping them in half is just fine.)
- Once sliced, place them in a bowl of water with a little lemon juice to keep them from browning.
- Then when you have enough peaches peeled and ready, fill the jars
- You’ll also need to make a simple syrup to add to the peaches. We go with the light syrup (they have other options in the book talked about above) by mixing 6 cups water to 3 cups sugar. Stir together until dissolved then add to the jars leaving about 1/2″ space at the top.
- Wipe the rims of the jars and place a new lid on top (we get the lids warm by keeping them in a small amount of water on the stove or medium to low heat.) and screw on the rings.
- Add your jars to the boiling hot waterbath. Once you have all your jars inside, lower them down and see if you need to add any more water (you want it at least 2 inch above the jars). Place the lids on top and bring the water back to a boil then set your timer for 25 minutes.
- Place a few layers of newspaper down on your counters (or a towel) and wait for you jars to finish. Once they’re done you can remove the jars and place them on the newspaper to cool.
Then you’ll just want your jars to cool completely before you store them away to eat later! Just make sure they are sealed before hand by pressing on the center of the lid, you don’t want it to pop back out. If they don’t steel just place them into your fridge and eat them in the next few days. We also write the date on the top, that allows up to know when they were processed and also that the lid is used and cannot be used again.
We love to use our fresh peaches for peach cobbler! Nothing beats it! We’ll also eat them just plain or on top of our cottage cheese in the morning. What do you do with your canned peaches? Do you can other things this time of year?


